

FTPS Connection for Dreamweaver on the MAC Tutorial
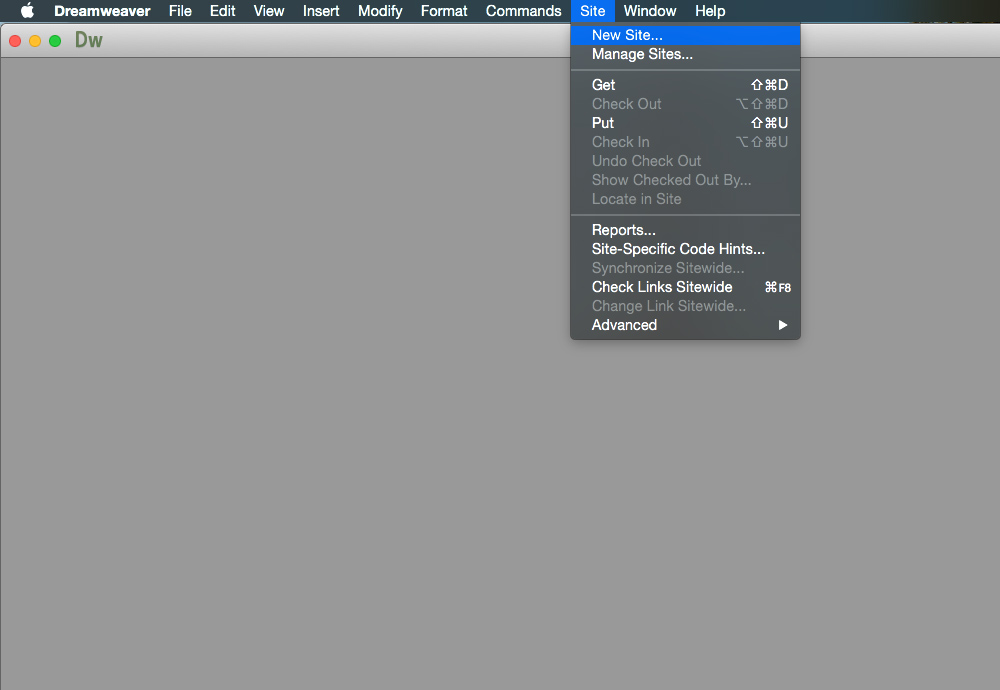
From the "Site" dropdown menu, select "New Site..."
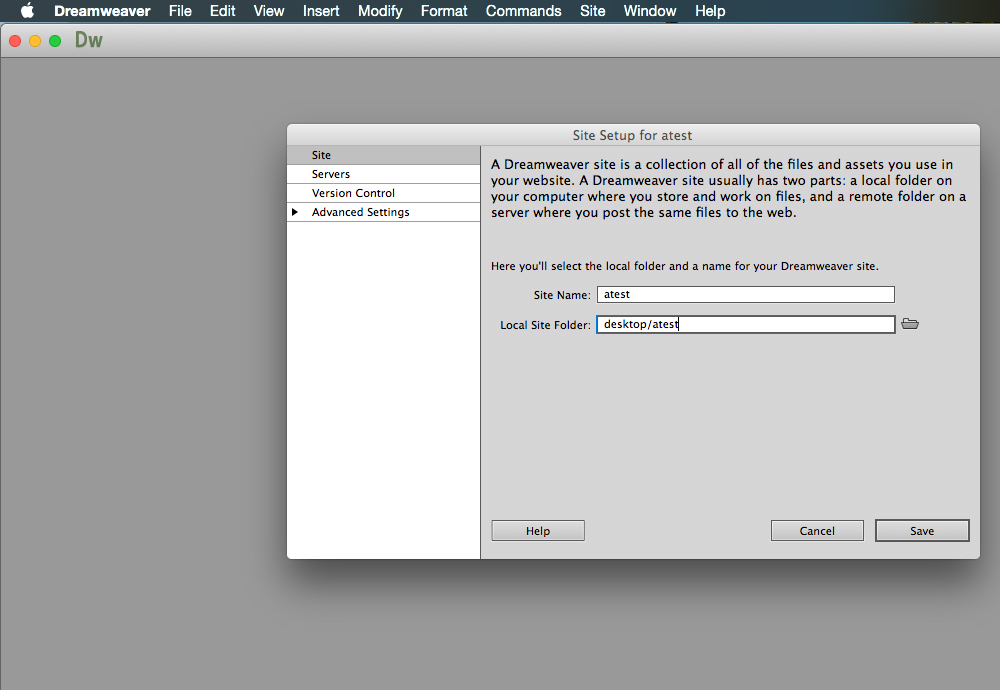
With the "Site" tab highlighted on the left of the box, you will see this window. In this step you will choose a name for your website and let Dreamweaver know where the local files are located on your computer. You can click the folder icon to help you locate the folder on your computer or you can type the folder address into the field.
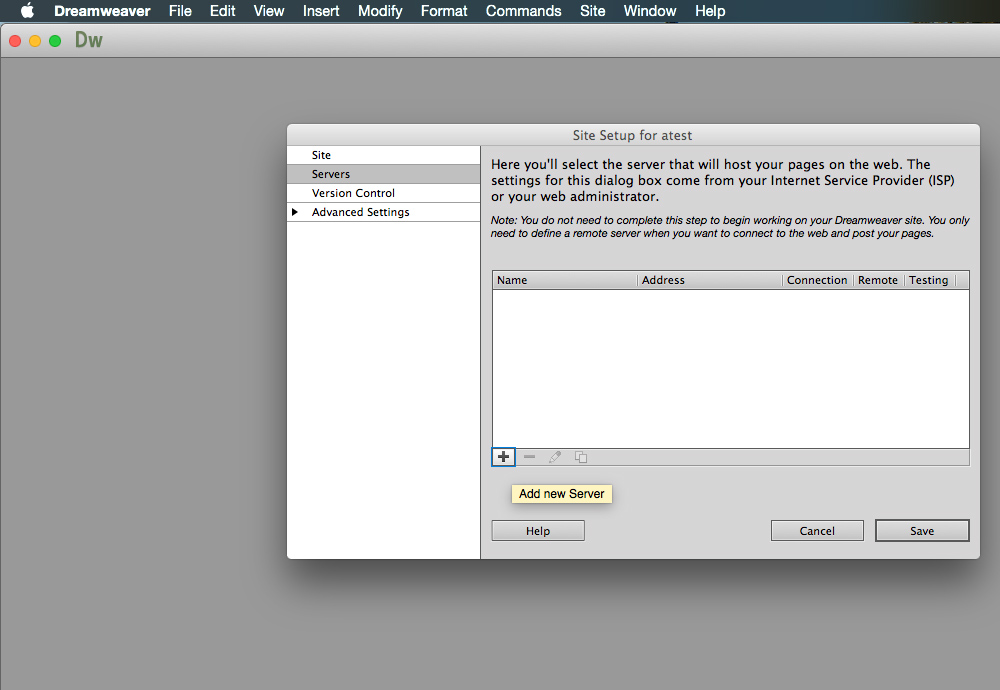
With the "Servers" tab highlighted on the left of the box, you will see this window. Click the plus (+) sign at the bottom left of the white box to "Add new Server".
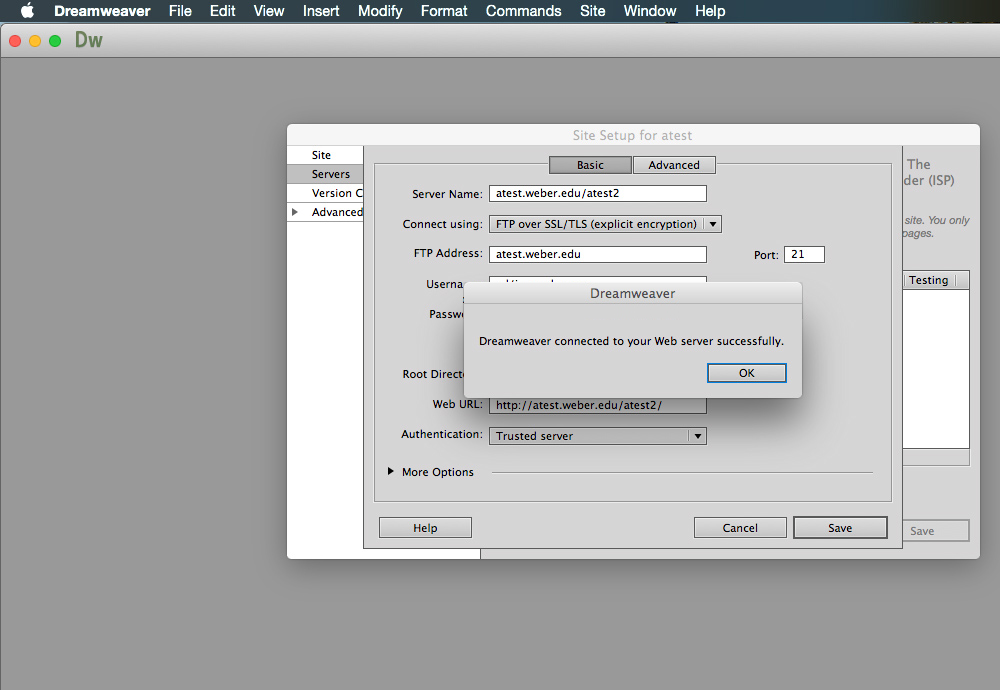
In this window, you will enter the server information for your website. Make sure the tab at the top is on the "Basic" setting. For the server name you will enter the address to your website (example - faculty.weber.edu/asmith). From the "Connect using:" dropdown box, select "FTP over SSL/TLS (explicit encryption)" option.
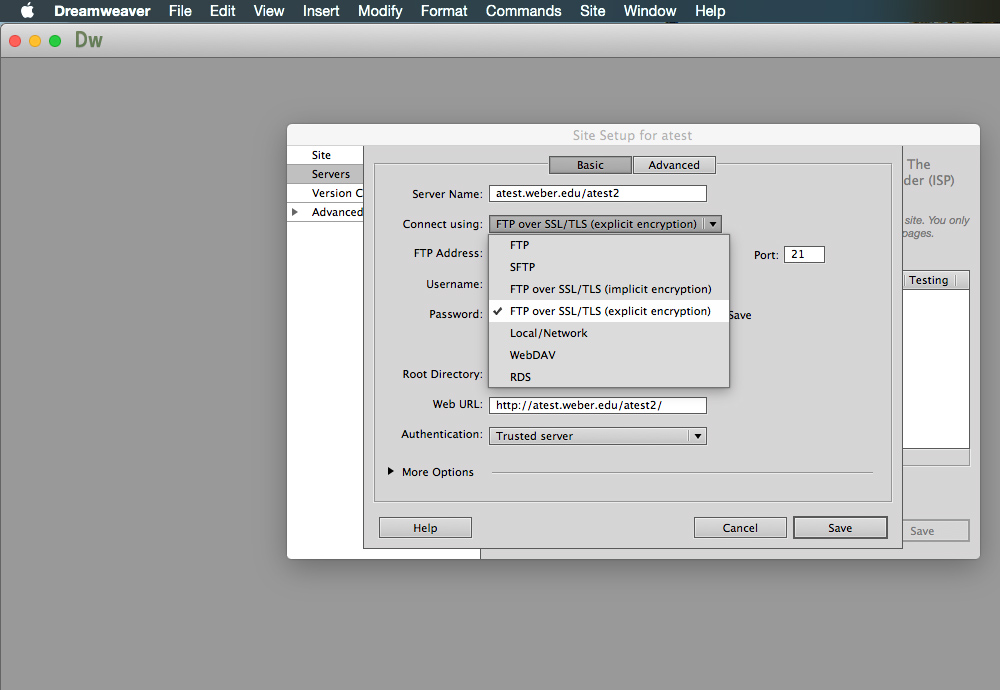
For the "FTP Address:" you will repeat the server name from above. It will then automatically add the "Root Directory:" to the below field. The "Username:" must be preceded with "ad\" and then your Weber State University username. The "Password:" is your Weber State University password (the same username and password you use to log into the eWeber Portal). For "Web URL:" you will input the web address that you would type into a web browser to get to your website (example - http://faculty.weber.edu/asmith). For "Authentication:" make sure "Trusted server" is selected. Do not alter the "Port:" field. It will populate that field automatically.
.jpg)
Once you have entered all your settings you can select the button that says "Test" to see if you are able to connect to the server.
If connection is successful click "save" to finish the setup.
If you have any questions or problems connecting, please call the IT service desk at 801-626-7777.